As with previous topics, I will first state a proviso that the exact details and order of operations for any given task are subject to the type of player action which you find yourself working on.
The following applies to one of the most common type of original player actions: the Standard / Auto Deluxe double valve action.
Regulating the secondary valves consists of just two steps, but they are both as time consuming as they are critical to the proper performance of the action.
If you have read the last couple of posts (which I humbly recommend you do), you will have a basic idea of the functionality of the valves.
To ensure the valves perform accurately and consistently, they must be regulated.
1) Begin with “gapping” or traveling the valves. The amount of travel allowed to each valve will ideally be set to optimize its performance. For the type of action at hand, there is general agreement that this would be about 0.040″. To repeat, this will vary depending on exact valve type, but for my piano it is a good baseline.
Once the rebuilt valves have been set back in their chambers and secured, the gap can be set by adjusting the position of the outer facing on the stem, thereby altering the distance between the two facings, and by extension the distance the valve can travel.
My variant of action has a screw-on outer facing, so this feature (theoretically) makes the gapping adjustment much more efficient. By gripping the stem below the plate and pushing up firmly (but not too much force), and then twisting the stem, the position of the facing is changed.
Twisting the stem clockwise (seen from the bottom of the stem) turns the facing down and increases the gap, twisting counter clockwise has the opposite effect.
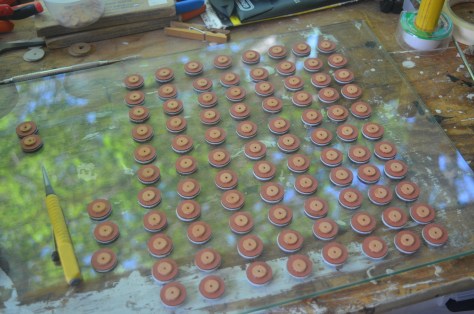
For the more common variant of shimming the outer facing, this unfortunately means constantly removing and replacing the valve until the travel is perfect, for each of the 88 valves. The advantage of this type is that the regulation will last a long time, which is a good thing!
Bruce Newman demonstrates here, once again.
A dial indicator gauge is a very handy tool for this task; however I found that I got good results with this simple Jaras tool, whose normal duty is to level sharp keys. I love finding more than one use for a tool! Whatever method you use, the travel should be consistent to within a couple of thousanths of an inch, at most.

Once this very important step has been completed, double and triple checked, secure your valves in place for the foreseeable future (with sealant if applicable), screw the buttons on to the bottom of their stems, and proceed to step two.
2) Set the button to pouch clearance. The buttons must never rest on the pouches, otherwise they risk staying slightly open and causing leaks or ciphers. It is recommended that there be 1/16″ (1.6 mm) distance left between the middle of a dished pouch and the button. This allows for seasonal changes when the pouch may expand or shrink slightly. In Some locations (like Northeast US and Eastern Canada) where there can be significant swings in relative humidity between summer and winter, some technicians advocate 3/32″ (2.4 mm) gap. A wider gap is definitely safer in avoiding the possibility of valves being stuck “on”, but too much will cut into reliable repetition.
Grip the stem with narrow smooth pliers or forceps (to avoid marring the stem), and turn each button until you get the right position.
One helpful way to do this is to turn the valve board upside down, and have it propped up off the work surface by several inches, to have just enough room to actuate the valves with your hand. Have your gauge (e.g. ruler) set up to simulate the imaginary line of clearance you are targeting.
If you slide your gauge along the edge of the valve board, the buttons should all just kiss the bottom of the ruler, without catching it or impeding it.
Here is an image of the process featuring a custom tool made by technician Bill Maguire.
It allows the straight edge to be quickly and securely raised to the correct height to regulate the buttons with accuracy.

Once you have done a couple off passes of regulation and feel confident in your work, John Tuttle has a method to check your results, here
If you have taken the time to do both these adjustments well, then the next phase of testing and troubleshooting should go smoothly.
If not, better to find out sooner than later!