
Having taken apart all the valves, done an evaluation, ordered and received new materials, it’s time to start rebuilding.
In all likelihood your valves are pretty old and used up, therefore a wholesale replacement of all ‘soft” parts is necessary.
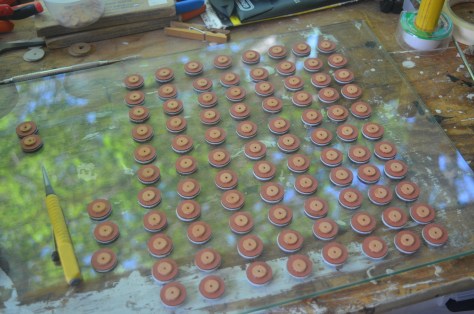
The construction style and materials information of my valves were discussed in previous posts, so on to the subject at hand.
In my case, I ordered the following new materials: fibre discs (2 per valve), fibre valve stem guides (1 per valve) new leather facings (2 per), new retaining leather washers for the outside facing (1 per) and new sealing leather punchings for the inside facing (1 per).
I also needed to order custom blotter paper gaskets for the valve plates (1 each).
It is good to have extra amounts to spare, of all the above listed parts.
I was fortunate to be able to reuse all the metal parts including the stem, retaining collars, metal seat plates and plate screws, as well as the wood stem buttons.
The rebuilding process will vary with valve type; here is a list of operations which had to be carried out to renew my own secondary valves:
• Clean and polish stems
• Clean plates (soak in denatured alcohol to soften old shellac sealant)
• Lap plate seats (sandpaper on plate glass, successive finer grits 320, 400, 600)
• Polish + wipe plates
• Seal plates (spray lacquer specially formulated for brass)
• Shellac gaskets onto plates (if applicable)
• Lube plates (spray lubricant)
• Glue / assemble valve facings to replicate originals
• Press or screw valves back together, roughing in gap distance
• Add stem guide and plate, place in valve chambers for regulation
These 10 or so operations seem basic on the face of it, however you will find that they are quite time consuming once everything is said done, it will keep you busy for a while!


Not only that, but this is very exacting work. All valves must be rebuilt to a consistently good standard, so that they perform identically and reliably. There are many little details to look out for; I will mention more at length later, but a critical one is that both facings on the valve stem have enough “wobble” to seat properly on their respective seats.
If the valves are too rigid, they will leak badly.
Too loose, they will not operate crisply.
Once again I will rely on previously recorded material from others; Bruce Newman has a good video on assembling and regulating valves.
Following my checklist above, once you have all the individual parts ready and the facings are on the stems, add the finished plates and stem guides, then put them all back in their chambers.

The observant reader will notice that I did not mention the buttons: we are leaving those off for now, for reasons to be made clear shortly!
On to regulation!