With the lift rods and fingers detached, it should now be easier to see how the decks are attached to one another, and work from there to separate them. In the case of my action there are 3 tiers, with the bottom and top decks screwed to the middle, as well as having metal brackets which support the 3 tiers together on the front face.

Here is a bullet pointed list of operations, which I developed for this process:
• Check tightness of larger block screws, before removal
• Measure span and overhang of striker pneumatics (if not already done)
• Number pneumatics (mark or stamp on bottom, with system of choice)
• Separate decks, set support blocks and screws aside (clearly identify number and orientation of each deck and block!)
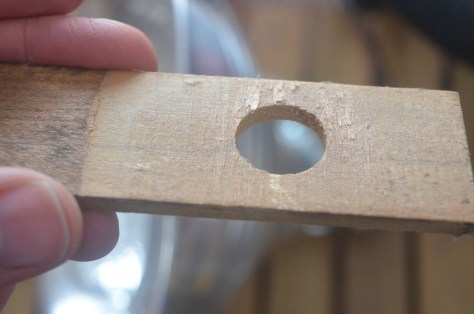
• Slit open pneumatics and fold back; number both boards inside (with the inside number of the moveable board visible through the hole of the stationary board, ideally)
• Remove moveable boards and excess cloth and hinge material from stationary board
• Remove metal hangers or wood fingers from moveable board, set aside and keep in order if possible!
• Remove the stationary boards from their decks
Most of the operations on the above list are tedious but straightforward.
The more organized and methodical you are, the more you will thank yourself later.
If the boards have metal hangers, these are normally attached with 2 screws and reinforced with thick shellac. After removing the screws they should come free with a sharp twist.
If there are hardwood fingers on the boards, exercise caution but the principle is the same.
If the board and finger are integrated, you will have to work around them as you rebuild.

Removing boards from the pneumatic decks can be an exercise in drudgery and frustration, especially the first time you do it. Different rebuilders take different approaches, and the decision is also informed by whether you plan on keeping the original boards, or not.
In my case I did, so I had to be quite patient and persistent in getting the boards off with as little damage as possible to them or the decks.
The redoubtable John Tuttle has a video on this topic, which may provide some tips:
The main thing, before getting started, is to index the board positions on the deck, so the boards go back exactly where they came from – this is important!
To repeat, getting the boards to come off relatively cleanly can be a challenge, particularly if they are not original and a synthetic glue was used. Try using different tools and changing your technique and angle of attack, to see what works best.
Once the removal is all done, it’s time to survey the damage and proceed accordingly.